Random thoughts of a fiber enthusiast - mostly fiber related, sometimes coherent

Category: Sew Page 8 of 9

Monk’s Bag

20120110-121948.jpg

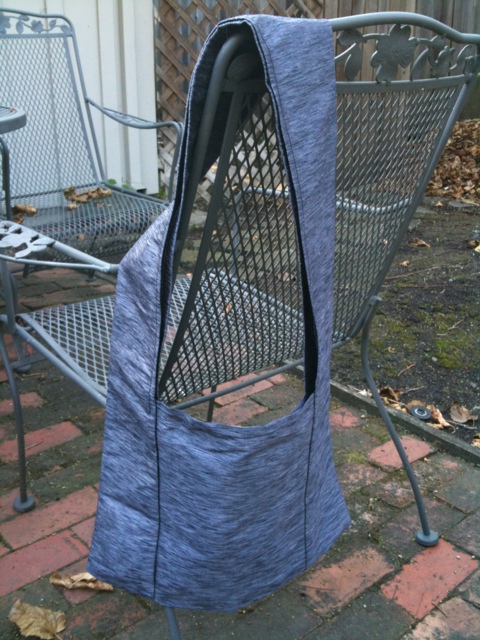
Instead of collecting all my gear, sort through them and start packing for vacation, I decided to take a bit of time out over the weekend to make a Monk’s Bag to take along with me to carry all the little things.

I had the rough plans from a weave-along project that the Fiber Artisans are working on this spring.

It’s made with some dupioni remnants I had sitting around. Believe it or not, the remnant was almost exactly the dimensions of the fabric requirements — roughly 11″ wide and 92″ long. So, I trimmed it to 10″ wide (some areas were 10.5″ and some were 12″ so it needed to be trimmed) and then cut it into 1 28″ piece and the remainder evenly into 2 pieces, roughly 30″ each. I used a 1/2″ seam allowance all the way around. It’s unlined, but the silk is pretty strong so I don’t think it will be an issue. Besides, this folds up nicely and can be stuffed into my backpack or purse to be used as an extra shopping bag.

(And no, no Hong Kong seams on this baby. Just a zig zag on the edges before I started sewing.)

I opted not to have a seam at the bottom of the main bag portion because I didn’t want a weak spot at the bottom of the bag where the seam is. I don’t know if this will bear out or not, but that was my theory.

What I learned.

  • This bag ended up wider than it is tall. Duh. 20″ wide and 13″ tall.
  • I would make the straps a bit longer. The top of the bag hits me right under the boob area. Not bad, but another 4-6″ might have been better.
  • I could make some hidden pockets in the top part of the strap by sewing across and put a zipper in.

I consider this as my “muslin” for the real bag.  I will take this with me to Thailand this week and use it as my day bag. That should tell me how well the dimensions work for me before I put on a warp.

Very appropriate, don’t you think? A bag make with silk remnants from Thai Silk to make a Monk’s Bag (aka Beggar’s Bag) to go to Thailand?

There’s a set of instructions for a Monk’s Bag at The Purl Bee. I didn’t follow this one. As I said, I just the rough dimensions from somewhere else and made it up as I went along.

Hand Sewing

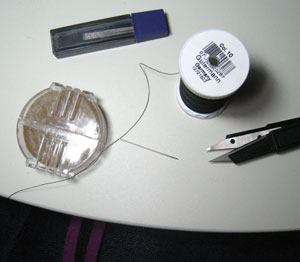
Did you know that there is a “grain” to sewing thread? Yup. According to Daryl, you should always knot the end that you have just cut off the thread. That, along with waxing your thread, will minimize tangling while you are hand sewing.

And yes, I’m finally getting around to finish the hand sewing of my jacket.

Jacket Workshop

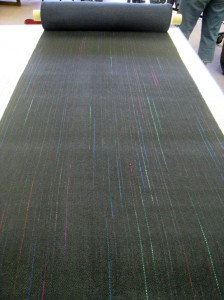
Yardage in daylight (Click to enlarge)

Here’s a picture of my yardage in daylight — just before I cut into it. I don’t have a picture of myself cutting into it. I procrastinated as long as possibly could. I love the way the fabric turned out. The color stripes remind me of a cascade of colored ashes from a fireworks display. Oh, and the actual fabric. It has absolutely gorgeous hand and drape.

After all that work on the yardage, I walked into the workshop and then dropped my jaw. It bounced a few times. I had forgotten to bring my yardage. Yes. After months and months of work, I forgot it.

I had packed the car with all the equipment, tools, and food for Daryl’s 3 day Jumpstart Jacket Workshop the night before. I left the yardage for the morning. I didn’t want to leave it in the car overnight. And the next morning? I drove away with the yardage still sitting by the front door. Sigh.

(Click to enlarge)

Okay. Onto the class. We only had 8 people in the class (instead of the typical 15). This meant that Daryl had more time to work with us individually to alter the pattern, not only for fit, but style that we want — casual, fitted, buttoned or open front, length, ease, everything. It was fabulous. Daryl was fabulous.

After all that stress about mistakes in my treadling and whether I had enough usable fabric to cut my pieces from, I had. And I have plenty to spare.

Once we got to sewing, she taught us how to apply a Hong Kong finish to all the raw edges. The finished garment will have no exposed raw edges. How fabulous is that?

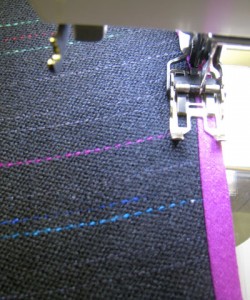
I chose a fuchsia raw silk fabric from Thai Silk to make the pocket lining and bias tape from. Look how well the fuchsia matched the accent yarn.

It was a very intense 3 day workshop. I was able to finish all the major sewing by 5 PM on Sunday, but just barely. I still need to apply the bias tape to my shoulder seams. The rest of the work is handwork. I need to remove all my basting and marking stitches, hem the sleeves, and tack down the jacket hem and front band. A nice pressing and it will be done. There’s probably about another 3 hours of work remaining.

This old thing? It's just something I whipped up over the weekend.

Here’s the jacket in its current unfinished state. There are things that I would do differently, but overall, I’m very happy with how it turned out. The colored wrap threads kept it from a boring man’s suiting fabric.

Jumpstart is right. This jacket presents a great jumping off point for a lot more ideas and jackets. I’m already planning my next yardage and jacket!

Page 8 of 9

Powered by WordPress & Theme by Anders Norén