Random thoughts of a fiber enthusiast - mostly fiber related, sometimes coherent

Author: Ann Page 3 of 260

Deep Stash

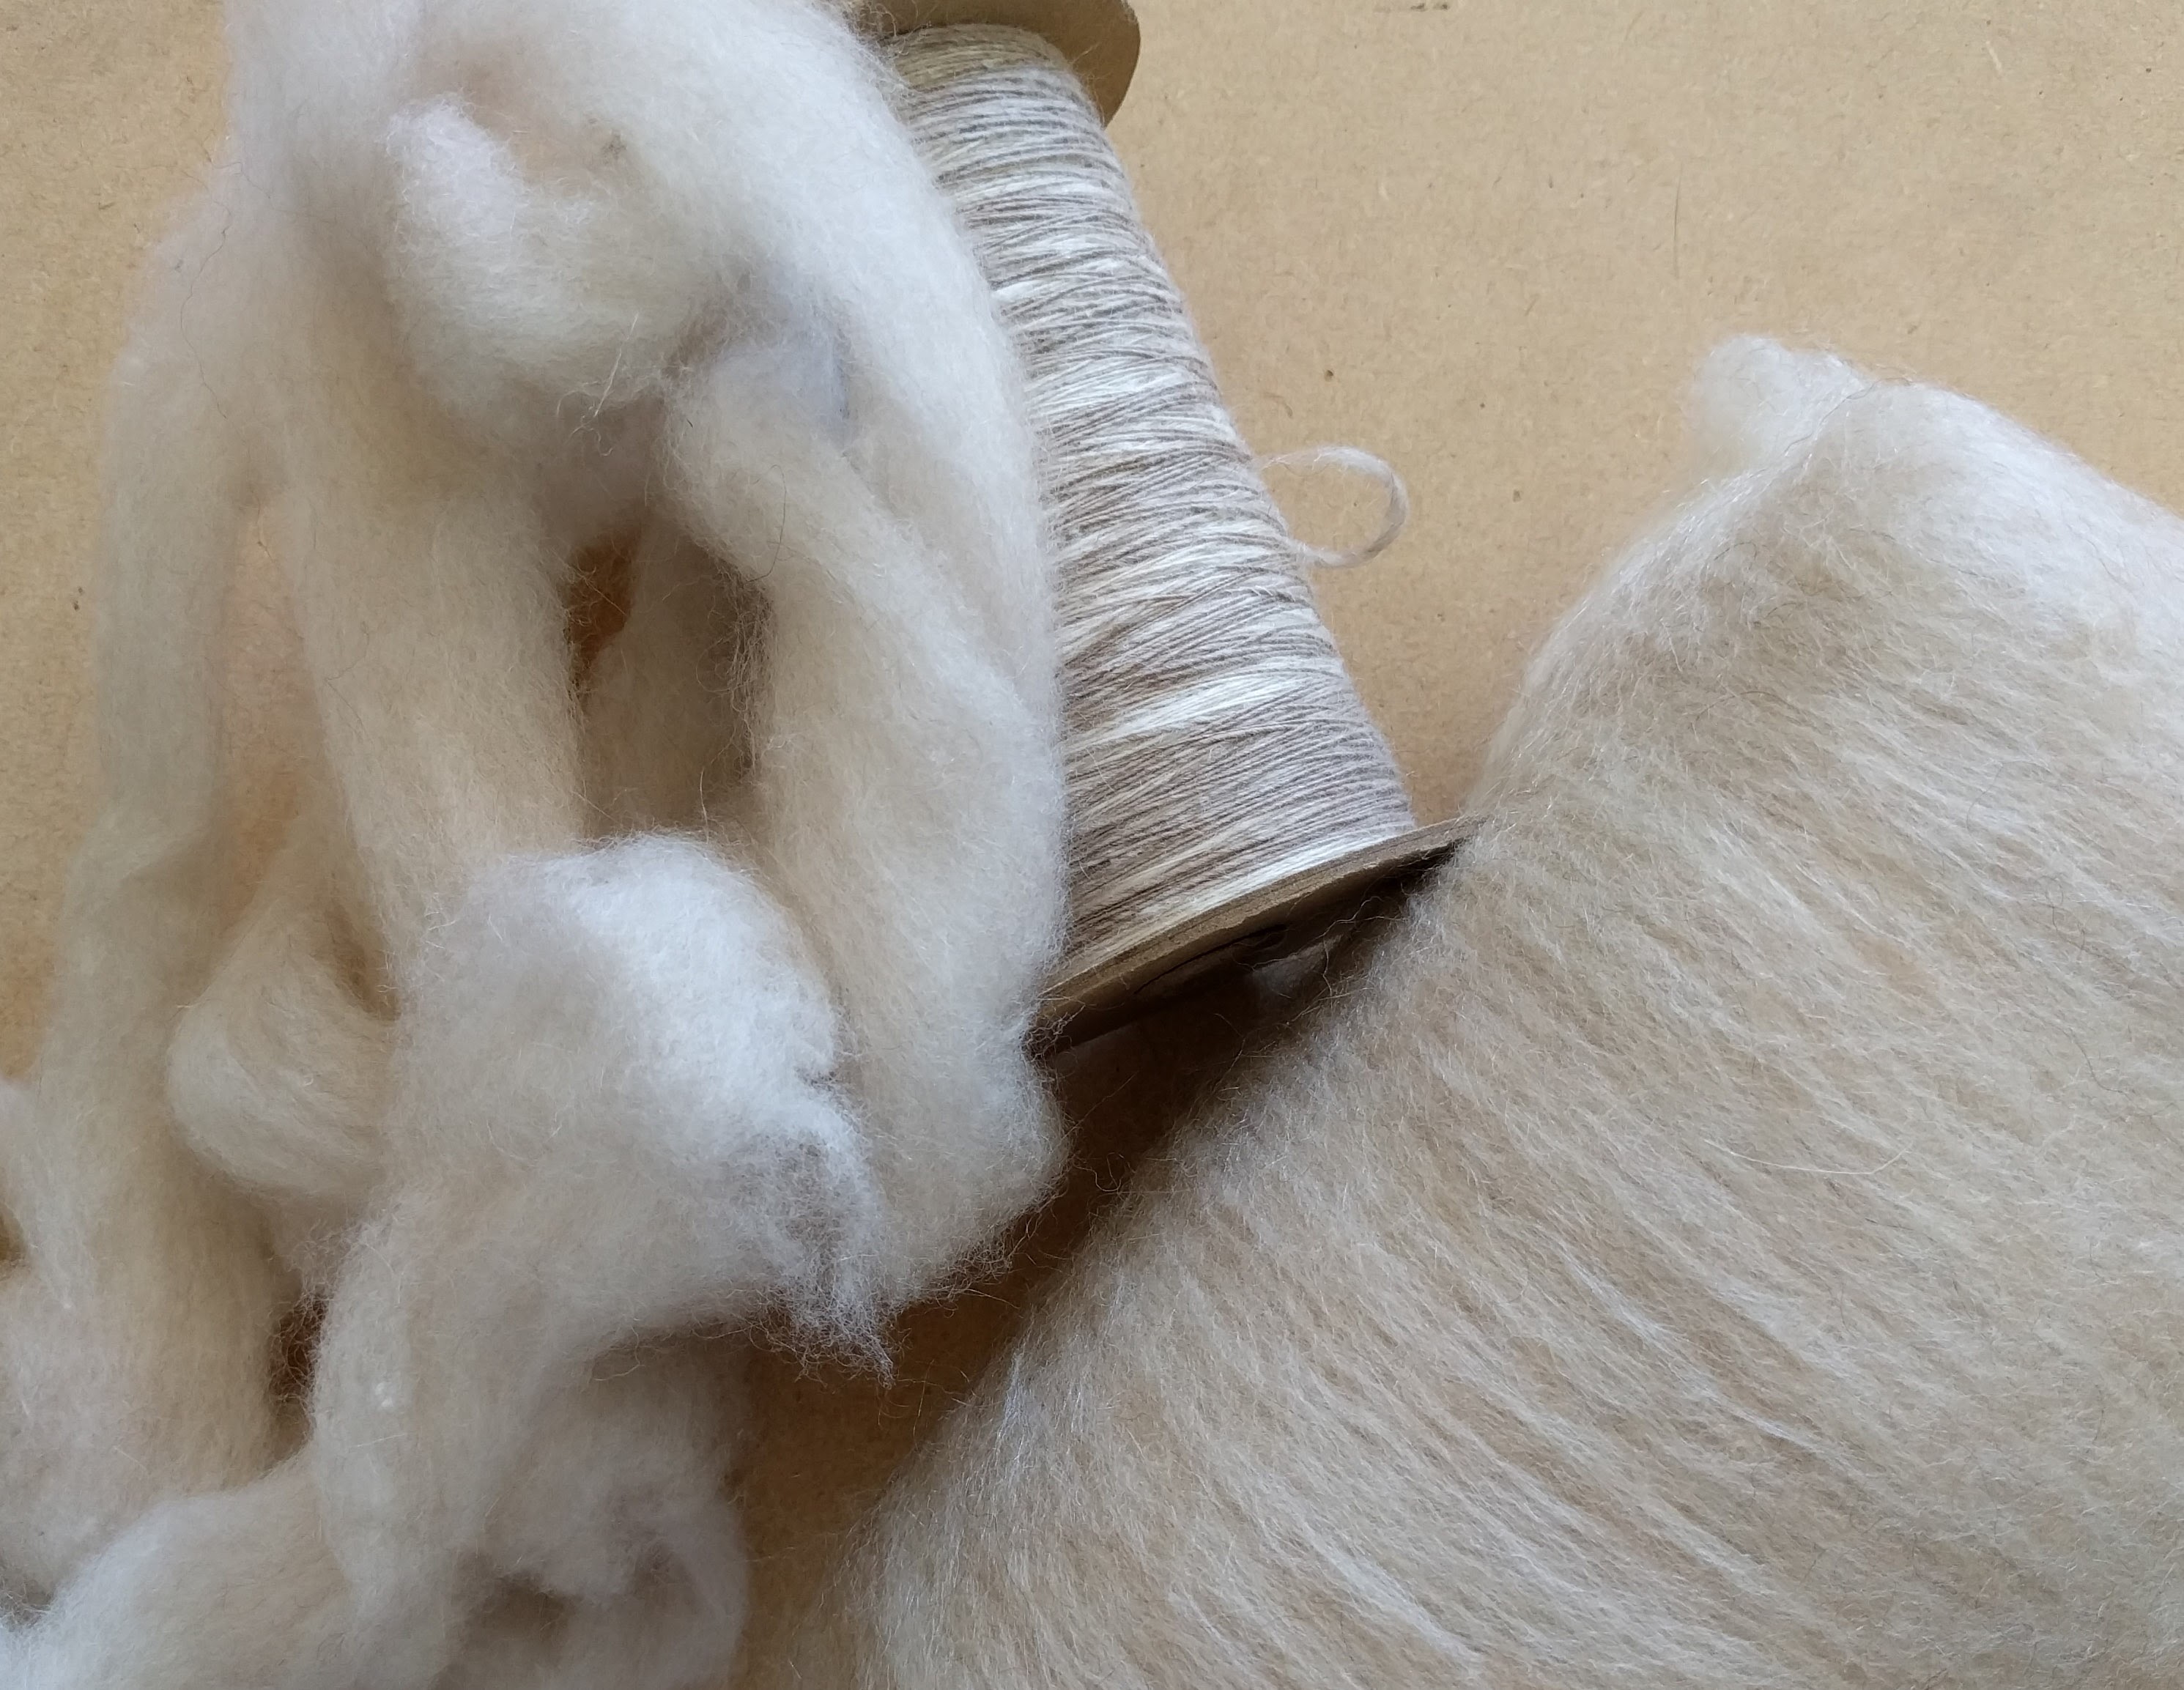
When Jen sent an email out last month, announcing the last of her luxury fibers, I immediately ordered 8 oz. It is a blend of Falkland Island Polwarth, cashmere, baby alpaca, yak, silk, and I don’t know what else. It is a beautiful oatmeal color.

I’ve spun this blend in the past, but when I looked in my past blog post, I did not find any mention of it. I dug deep into my emails with Jen (you’ve got to love Gmail for this!) and found that I’ve had at least 2 experiences with this fiber blend from Jen. The first one as a free sample. Gee, where have we heard that before? She’s such a pusher. I purchased another 8 oz shortly after.

I spun this batch worsted with a short backwards draw into a fine single. This is very different from my previous method, which was with my lazy long draw. The result of the first batch was a light fingering weight yarn.

Part way through the first 4 oz of this fiber, I decided I wanted a 3 ply yarn for a sweater/sweater vest. Unfortunately, Jen has sold out of this fiber.

So I went diving in my stash. My original thought was to make a blend similar to the luxury blend since I likely had all the components in my stash. It’s just a matter of getting the correct proportions and colors.

Lo and behold! I found 2 Abby Batts, circa 2007 or 2008, in wool (likely merino), silk, camel, yak. It is a near perfect match for Jen’s luxury blend in both content (minus cashmere and a different camelid) and color.

This, my friends, is why you need a stash.
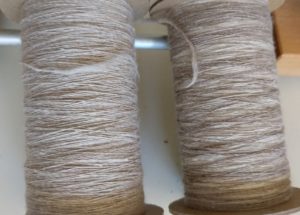
A note on the Jen’s luxury blend…In the first batch, both ends of the rovings were near the top of the bag. I just started on one end. Unfortunately, it really wasn’t the end that wanted to be on top. I pulled everything out into a box before I started spinning again. Unfortunately, I started on the opposite end this time. You can see the difference in the colors from one end to the other.

You won’t notice the difference if you spun it continuously, since the color variations changed gradually. The other bobbin didn’t show any sudden shifts in color becuase I spun it continuously from one end to the other.

Now, onto Abby’s batts. You can see the color difference between the 2 batts. One is definitely darker than the other. In fact, in the darker batt, one edge is almost “white” — even lighter than the lighter batt.

I’ve stripped the batts down into very small strips and spinning with 2 strips (one dark, one light) held together to further blend the colors. Yes, I could have run them back through the drum carder but I didn’t want to risk introducing neps.

Hey, sorry for the long absence. I’ve been super busy. The time it takes for photo editing and writing content sometimes seem daunting. It has been easier to snap a picture and post to Instagram. There are times when a simple photo just doesn’t convey the thought process behind the photo. Like this post. I have to find a balance between the two.

More Yarn

This post has been a long time coming. The yarn was plied months ago on the Lendrum as I mentioned, but all was not happy. I decided to use the jumbo flyer and plying head. It was sooooooo slow and my plying was less than even. On the bobbin, it looked like I had a several sections of really underplied yarn mixed in with “normal” looking yarn.

I was so disgusted I left the yarn on the bobbin for months, trying decide my next steps.

I finally decided to wind the yarn off and see what I had. I thought that I could put it on the squirrel cage reel and see if a few turns on that might help even out the twist a bit.

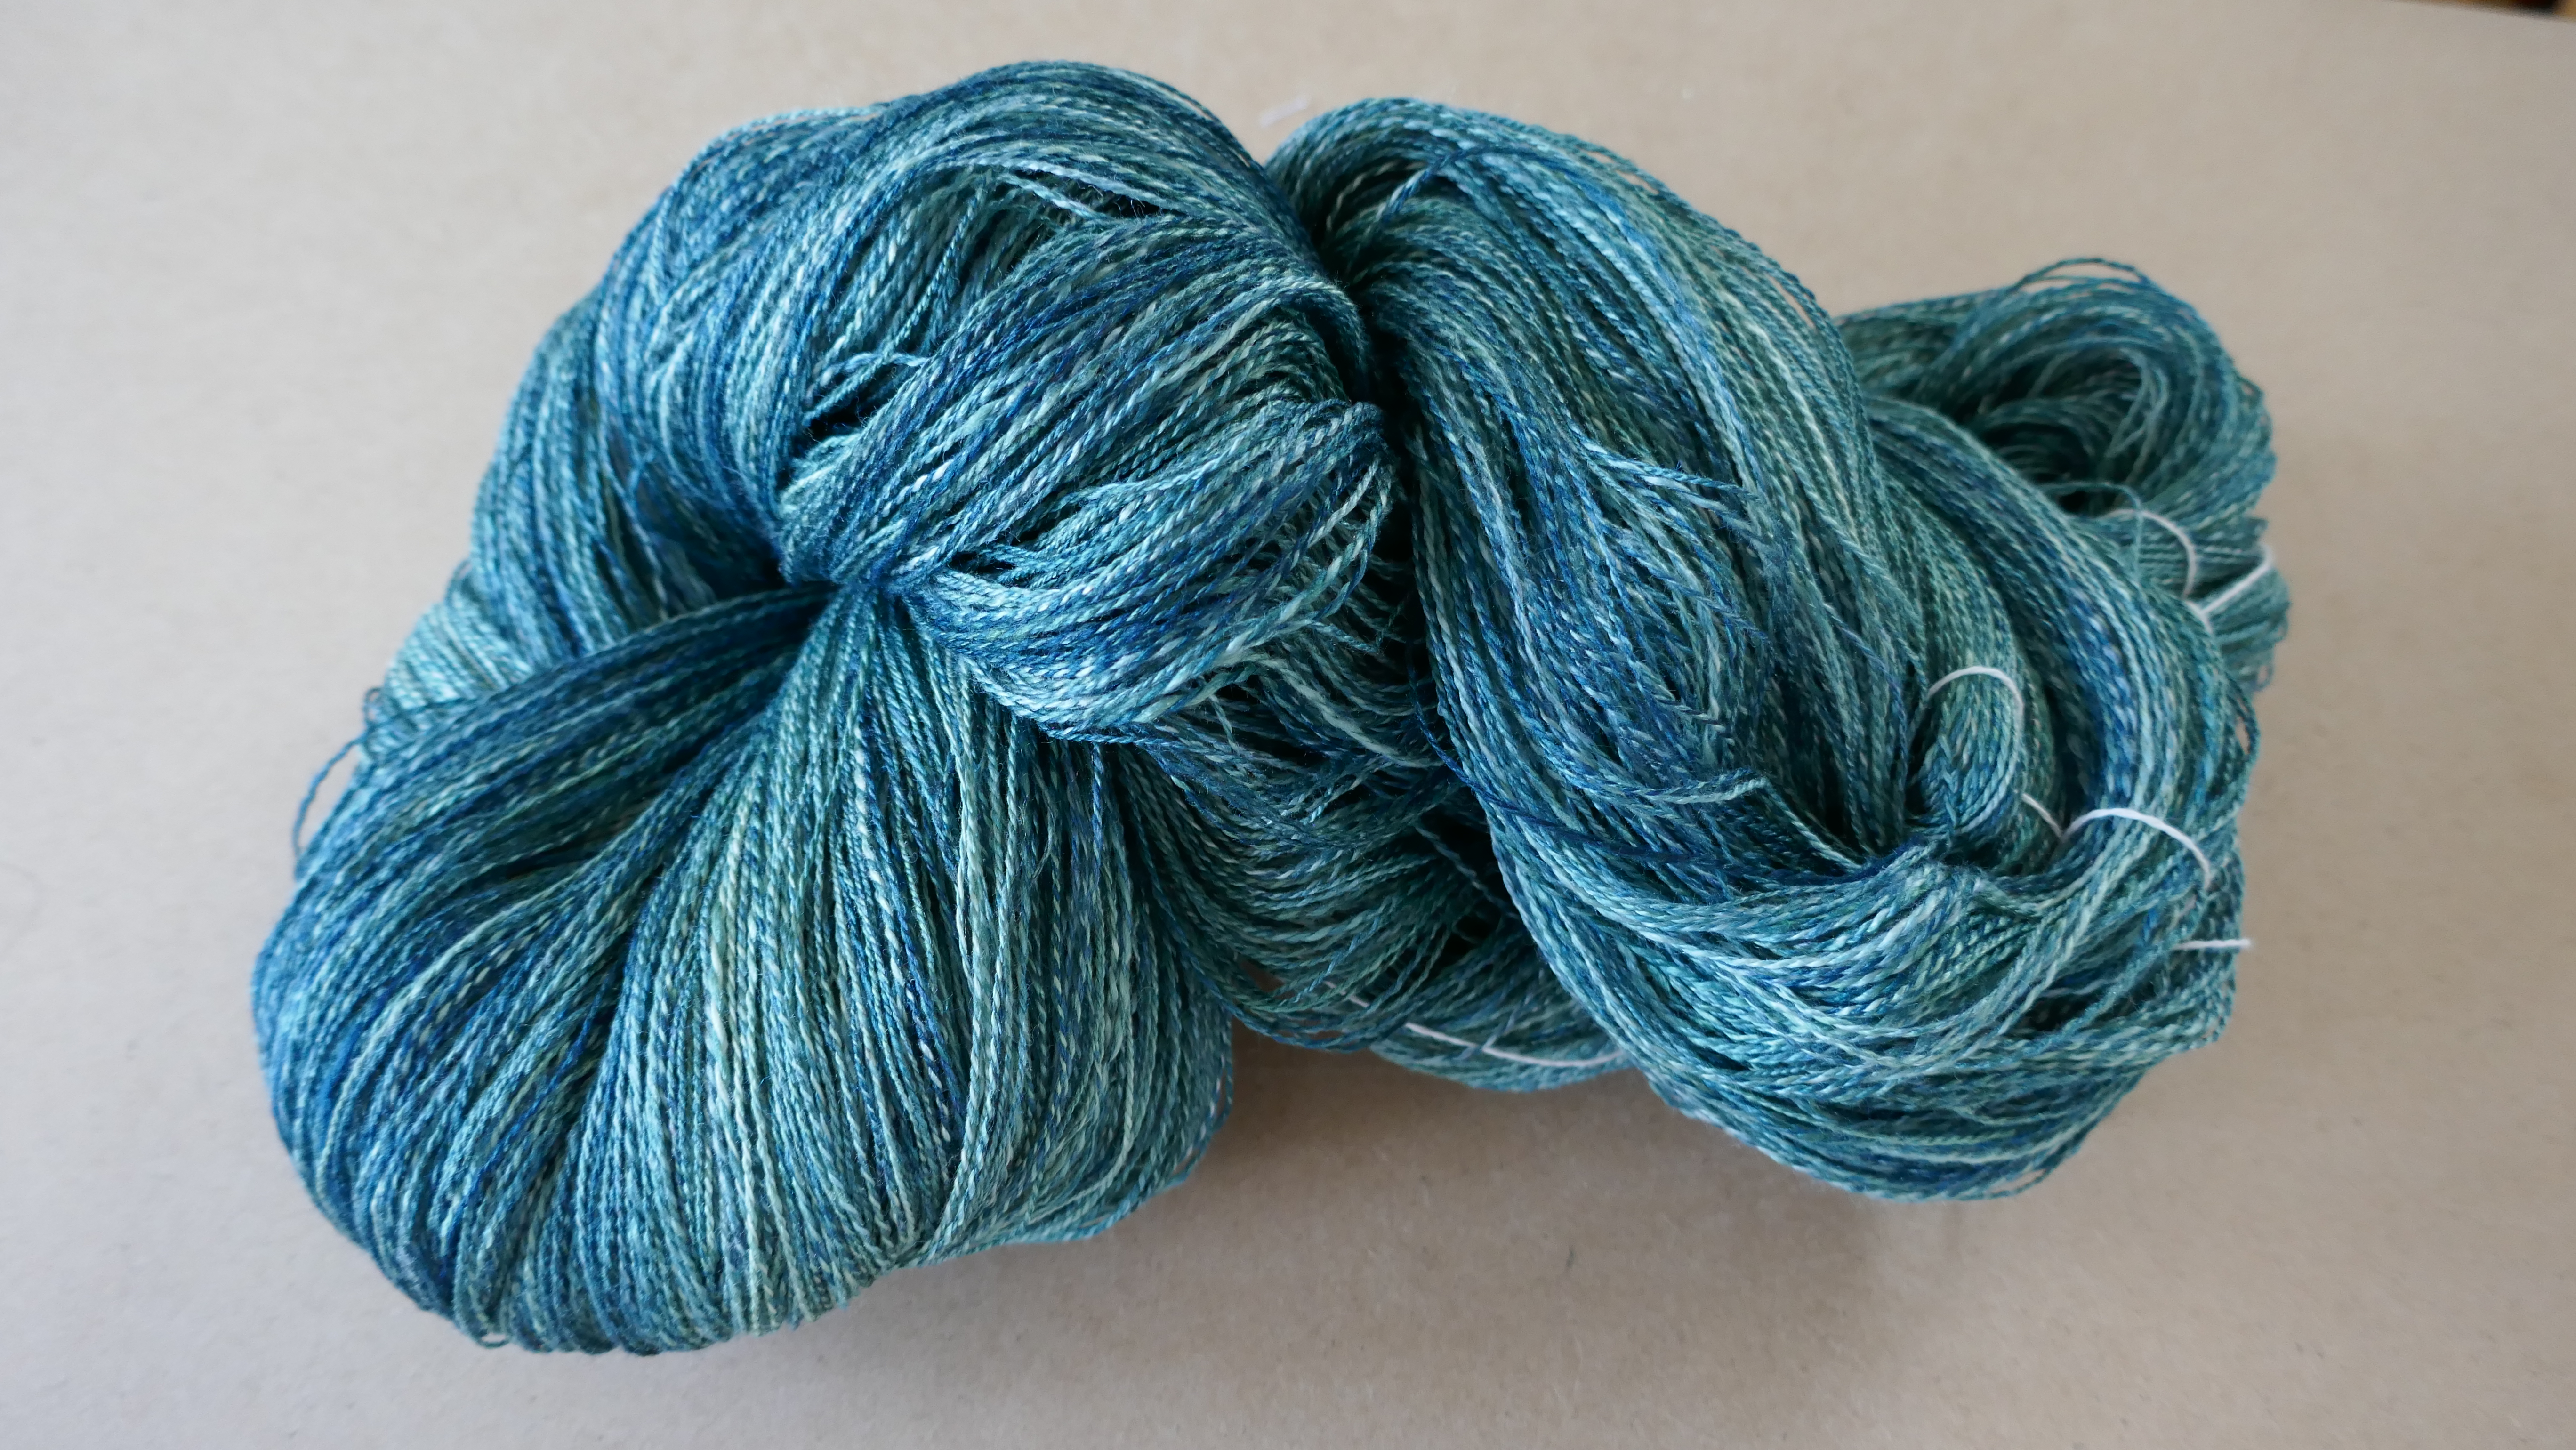
merino silk

Guess what? It looked pretty good in skein form! There were no obvious underplied sections. Some sections might have been a little overplied. No matter. I think it will even out a bit more once it hits it’s bath. It’s not my best work, but it’s not horrible either.

Here’s a tip that I learned from Stephenie Gaustad a few years ago…

  • Tie the beginning and the end of your yarn to each other so that the skein is essentially a giant single loop of yarn (but wound in skein form).
  • If the beginning and end are not close to each other on the skein winder, tie on a piece of scrap yarn as extender.

This allows the twist to flow freely throughout the length of the yarn.

Next, tie lots and lots of loose figure eights around your skein to keep them under control. The key here is loose. You don’t want to bind the skein in anyway — remember you want the twist to move freely throughout.

Yarn Stats:

  • 8 oz of Merino/Silk from RedFish Dyeworks
  • 1,662 yards of 2 ply yarn (approx. 3,300 ypp)

The yarn in fiber form and as singles. What was disappointing is that it lost the fresh out of indigo bath look (chartreuse, green, and blue) and is mostly green. I’ll have to see what to pair the yarn with to bring that original impression back.

Natural Dye Workshop

We had a Natural Dye Workshop with Anni Redding in September. It’s taken me this long to blog about it because I was really disappointed with the results. It didn’t quite turn out the way I had hoped.

Anni was great, but there were other issues that came up that resulted in less my vision of what I would end up with. Darned expectations!

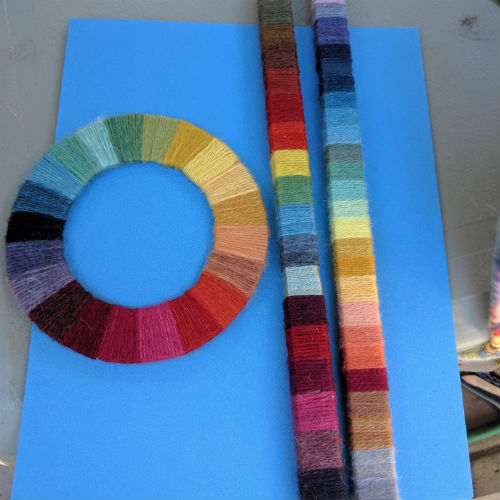
Anni showed us some of the colors she was able to create using natural dyes.

naturaldyecolorwheelstick

Gorgeous color wheel and color sticks. It was really inspiring to see the range of colors that she was able to get.

Our guild worked extensively with our indigo dye pot and were happy with the range of blues we were able to get out of it. It is a vigorous and very forgiving pot that has been going on for years and years. Phyllis also had a madder patch that we harvest annually and play with.

We wanted to focus on a strong yellow and a blue red to round out our color pallette. After talking with Anni, we settled on Osage Orange and Cochineal. We will have 3 dye baths of each color in light, medium, and dark.

We spent August preparing our fiber by simmering them in a 10% solution of alum. (10% by weight of fiber – WOF) We tagged the fiber by the dye bath we wanted them in.

osageorange

My first disappointment came with the Osage Orange bath. One person in the class went off the reservation and wanted to play with other mordants — specifically tin on some cotton handkerchiefs. When that went into the pot, it immediately dulled the dye bath. Instead of a bright yellow, it greyed out the bath when the tin leached out of the cotton into the dye bath.

Lesson learned. If you use different mordants, use different dye baths for each mordant. This may not be an issue if you are a solo dyer since you will likely only do one mordant at a time. In a class environment, keep it controlled and follow the instructor’s plans exactly. If you want to play, play with the after bath.

cochineal

After we finished with the cochineal, Anni showed us Saxon Blue — a different way of using indigo than the way we had been using it. Saxon Blue can be dyed like regular chemical dyes. The indigo is already in a pre-reduced form. You can just add the concentrate into a pot of hot water and it is immediately ready to use.

And here comes my second disappointment. I had squares that I had planned to overdye with our indigo bath at a future date. They were grouped with the primary color groups that I had planned for Osage Orange and Cochineal.

If I had proceeded as I originally planned, I would have washed the samples and retagged them for the indigo pot. Since I didn’t have tags and string during the workshop, I just dipped a square from each bundle into the Saxon Blue baths. I wasn’t careful enough and accidentally splashed color onto other squares.

Nevertheless, I continued. It would just add character to the finished squares.

Now, for the last disappointment. It was the Saxon Blue again. The blue took forever to rinse. I mean forever!

Someone rinsed at the workshop…and rinsed…and rinsed…

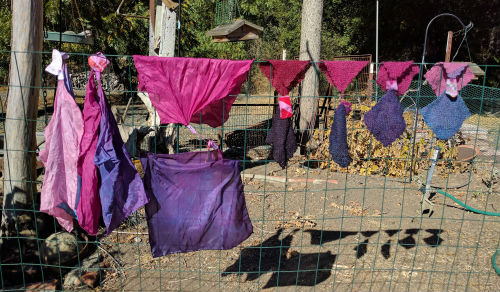
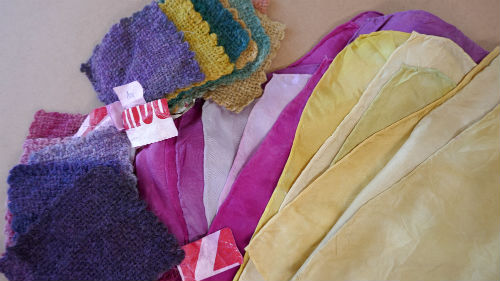
So I decided to let the squares cure for several weeks before washing them. Even 2-3 weeks later, the blue still bled. I washed the squares in about 4-5 lukewarm baths with synthropol. It was still bleeding when I finally gave up. And because the were still bundled together, the blue attached themselves to my gorgeous reds and yellows that were in the same bath.

Again, my fault. I should have taken the time to separate the bundles into specific dye groups to prevent just this type of problem. But I was lazy.

natdyesquares

In the post workshop euphoria, I purchased the nasty chemicals and safety equipment to make my on Saxon Blue stock. However, I am now so discouraged, I don’t know when/if I will make up the stock.

Page 3 of 260

Powered by WordPress & Theme by Anders Norén