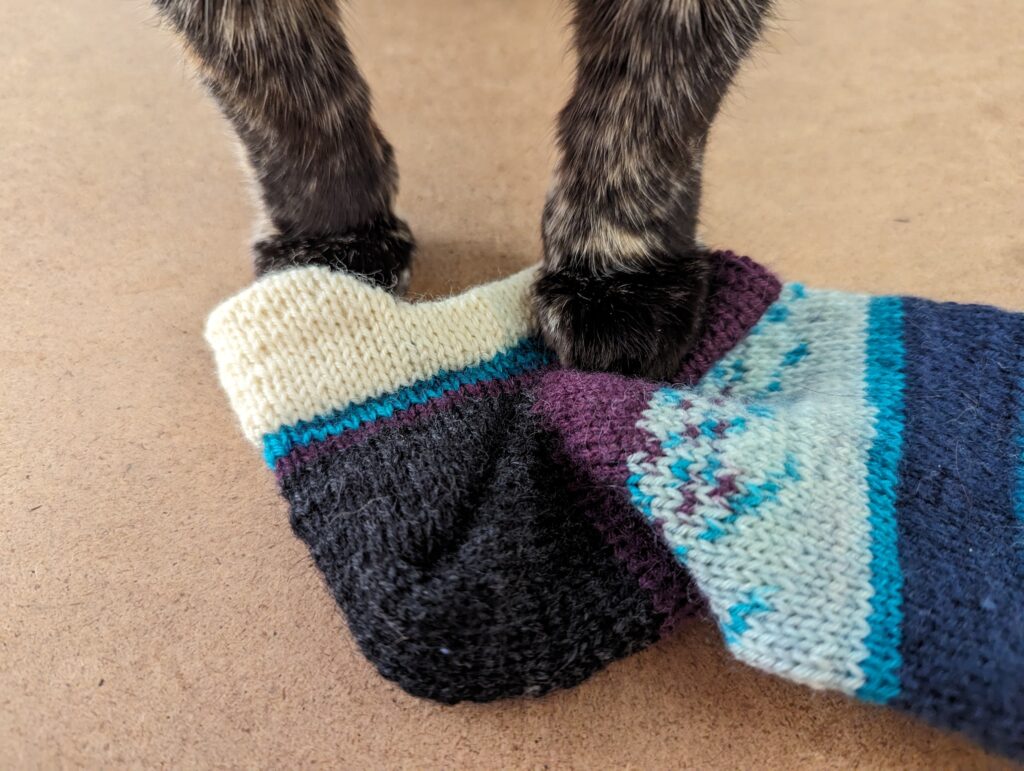
My basic sock recipe for the past 15+ years has been toe up with short row heels. When I stumbled across The Purl Bug’s Heel Tab for Short Socks recipe, I knew what I needed to do — adapt it for toe up. If you have ever knit a picot or folded hem, then you are half way there. If you have ever knit short row heels in the past, you are half way there. If you have done both, then this should be a piece of cake for you.
The recipe below is for any toe up sock pattern. It begins after the heel is complete and you are back to knitting in the round for the leg. And remember, as with any recipe, it’s easy to adapt to whatever fits you best.
Ankle. I knit about 1 cm plain (approx. 5 rounds) before starting the heel tab. You can make this longer or shorter. I find 1 cm is perfect for me.
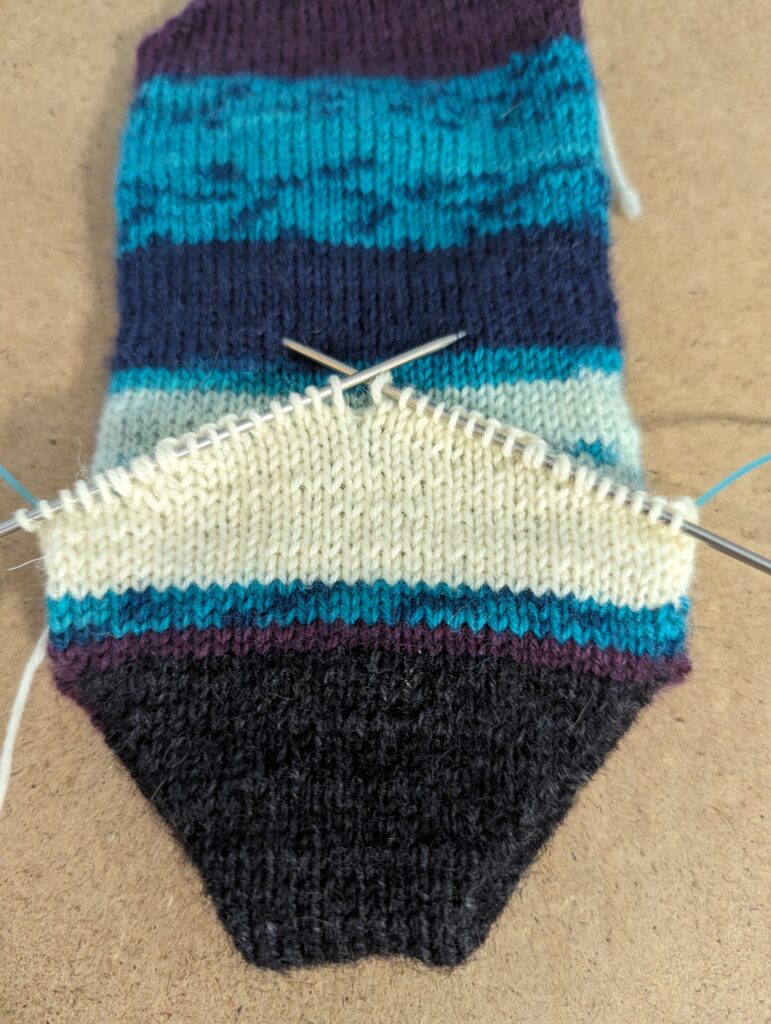
Setup for Heel Tab. I knit the heel tab in a different yarn than what I used for my socks because it is easier for me to see where to stitch the tab down in a straight line. You can knit the entire thing in a single yarn/color. You just need to pay a bit more attention to make sure you stay on the correct row. I recommend using a different color for your first pair so you understand what you are doing.
Knit 8 rounds plain.
This is in addition to the 5 rounds for the ankle.
First half of the Heel Tab. The heel tab is made of 3 sets (6 rows) of short rows along the back of the foot. The heel tab from the original instructions were too small/narrow (9 stitches unworked on each side) for my trail shoes so I played around with different with different widths until I settled on 5 stitches unworked on each side. I had a bit of a Goldilock moment before I settled on a width I liked. You may need to experiment a bit as well.
Notes: I knit socks with 5 double points, 2 circulars, or on a single circular needle using the Magic Loop method. This makes it easy for me to differentiate the front from the back of the sock. If you use double points, with your stitches distributed across 3 needles, just know that when I said “the end” I mean each side of the foot.
On the back side of the sock (the side with the heel)
- Knit to 5 sts before the end, w&t *
- Purl to 5 sts before the end, w&t
- Knit to 1 st before the previous wrap, w&t
- Purl to 1 st before the previous wrap, w&t (2 sets of wraps on each side)
- Knit to 1 st before the previous wrap, w&t
- Purl to 1 st before the previous wrap, w&t (3 sets of wraps on each side)
Notes: I haven’t looked back since I learned the Fish Lips Kiss Heel method, but you can use your favorite short row method. Replace “w&t” (wrap and turn) with your favorite short row method.
Boomerang:
- Knit across to first st after all the wrapped sts
- Place marker before the first wrapped st
- Pick up the wrapped sts as one
- w&t
- Purl across to the first st after all the wrapped sts on the other side
- Place marker before the first marked st
- Pick up the wrapped sts as one
- w&t
Second Half of the Heel Tab.
- Knit to marker, remove marker, w&t
- Purl to marker, remove marker, w&t
- Continue until you’ve reached the wrap from the Boomerang row. You should have 4 sets of short rows on each side.
- Knit across to the end, picking up your wrapped stitches as you iapproach them.
- Continue in the round to the front of the sock. This is round 1.
- Continue with the back, picking up the wrapped stitches.
- Knit 4 additional rounds, 5 rounds total.
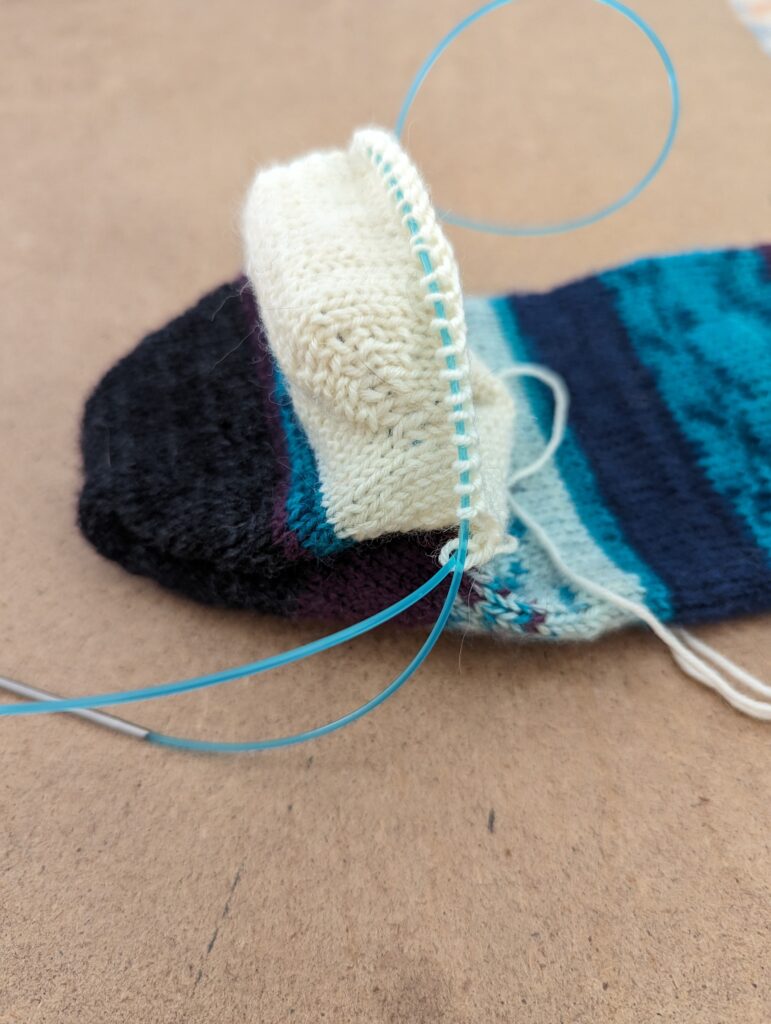
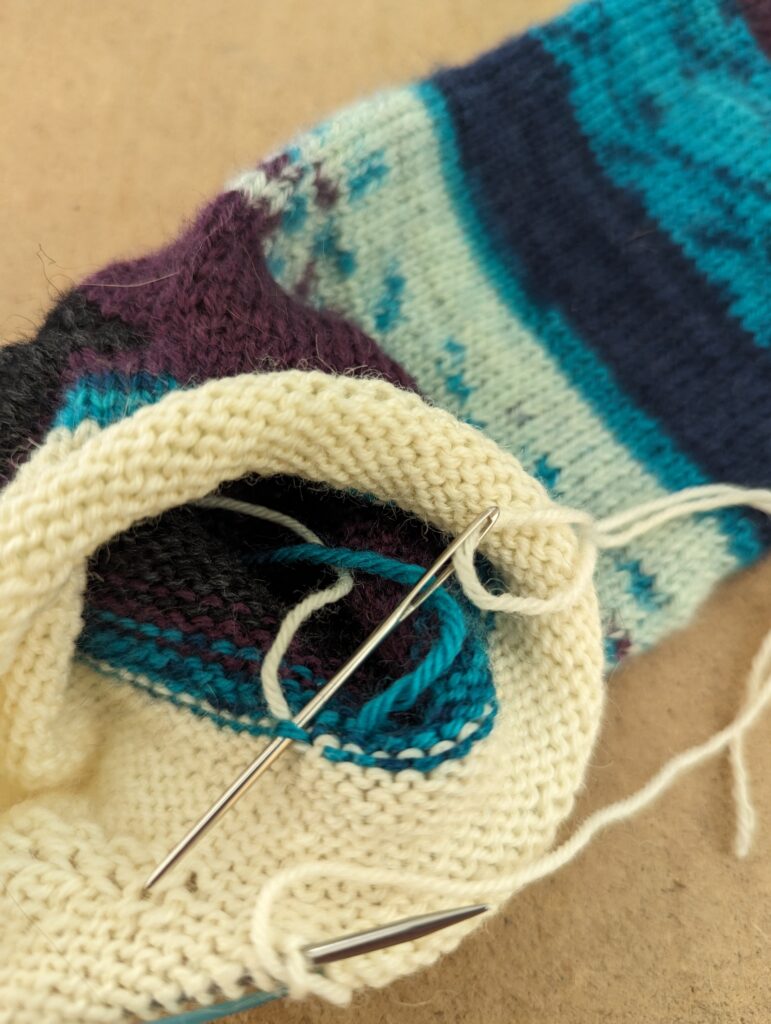
Sew down the heel tab. I tried whip stitching down the live stitches but I just didn’t like how it looked. I settled on a mash up of kitchener and whip stitch.
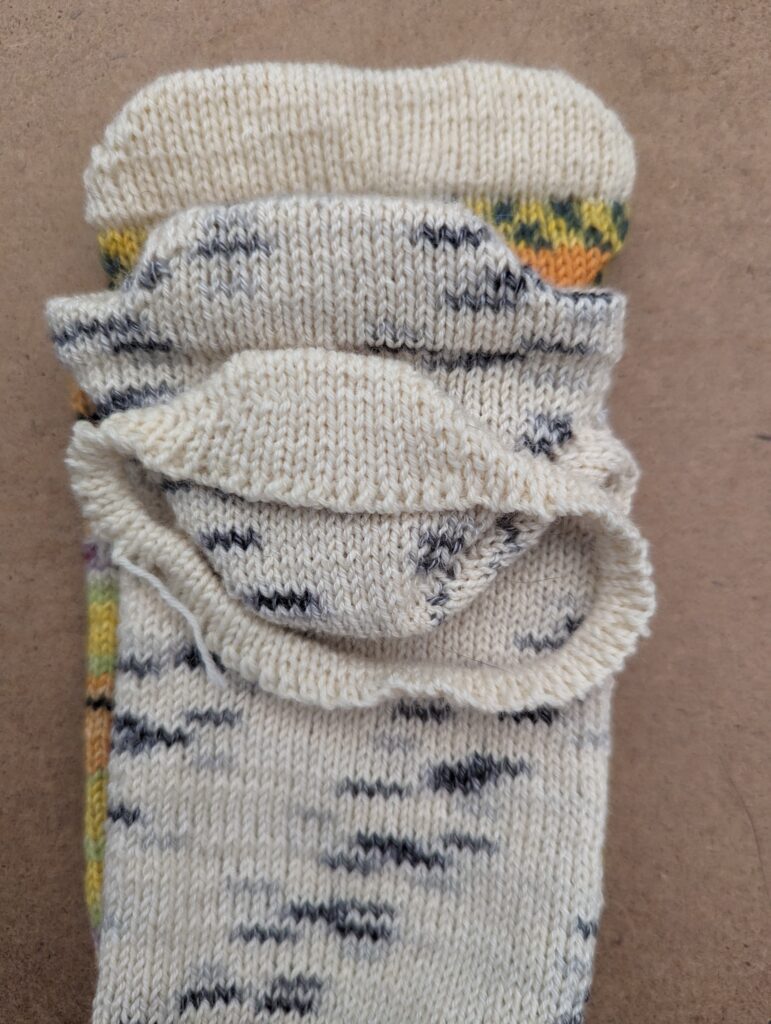
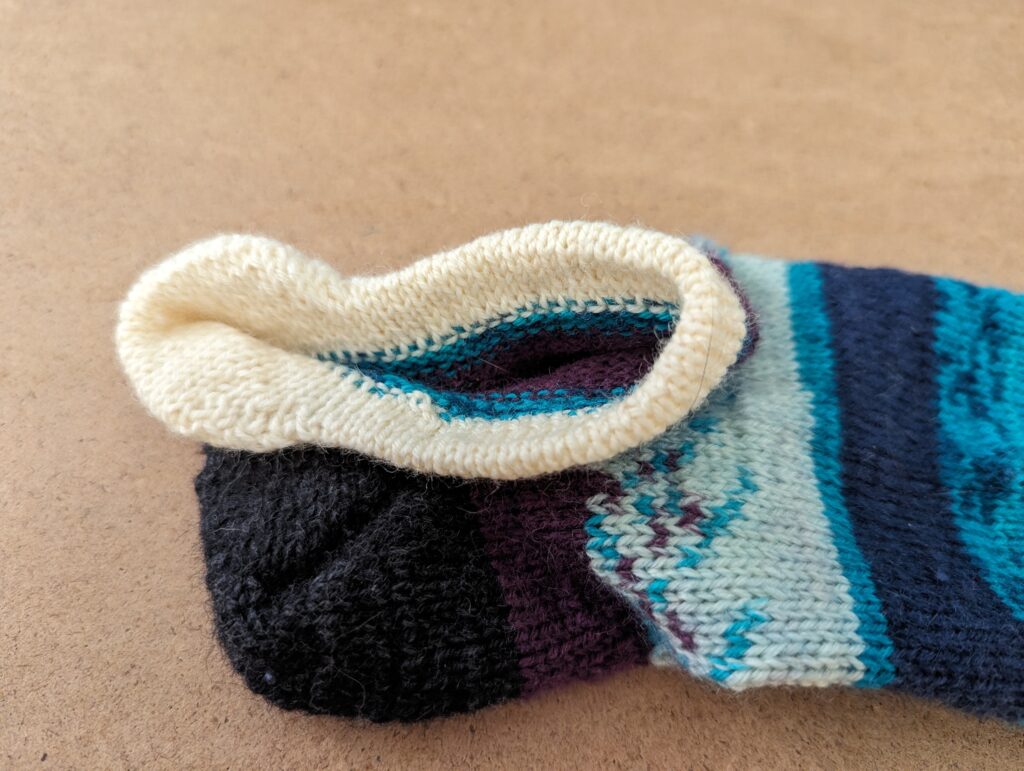
I don’t know what type of knitting magic this is but yes, you read the instructions correctly. 8 rounds before you start the heel tab short rows and 5 rounds after make an even flat hem without any bunching. Trust the process.
- Cut yarn about 3x the circumference of the sock and put it on a tapestry needle.
- Insert needle into the first st as if to purl, pull through but leave the stitch on the left needle.
- Slip the threaded needle through the first purl bump in the corresponding column 13 rows below.
- Insert needle through the first st on the left needle as if to knit, slip the stitch off the needle
- Insert needle through the next stitch as if the purl
- Repeat until the entire tab is sewn down
If you changed yarn/color for the heel tab, it’s easy to locate the corresponding purl bump for the beginning of row as well as the line of purl bump to pick up as you sew the hem down. I find this to be easy on these aging eyes.
Without this, I found it was all too easy to sew down slightly askew or get off course once I get going.
Besides, I really like the look of a white trim on my socks.
Not only is the result nice and tidy, it’s also extremely stretchy while maintaining a nice tidy hemline without any extra bulk.
