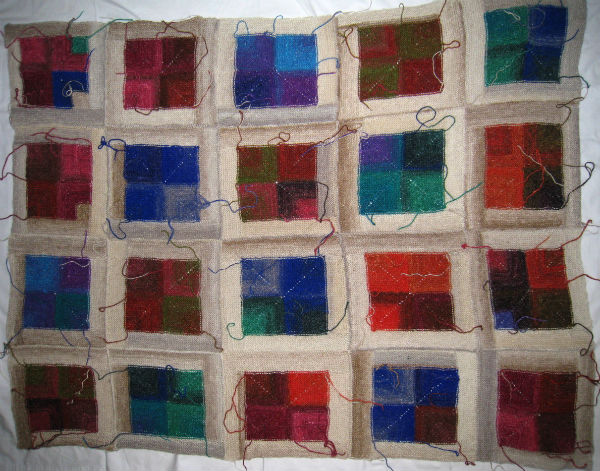
The Mitered Non-Cross Blanket is almost done! I finished off all the blocks and spent better part of 2 days seaming the blocks together.
When I knitted my blocks, I slipped the first stitch of each row. This allowed the sides to look just like the casted off edge. It also made picking up stitches a lot easier.
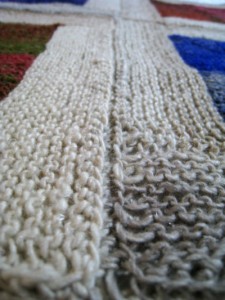
When joining the blocks, I single crocheted the blocks together through the back loop of the chained edges. This allowed the edges of the blocks to butt up against each other with a small little gutter in between the blocks.
I don’t know where I read this but I think it was in the notes for a granny square blanket. It was probably the same place that I read about joining them in a zig zag pattern. Hard to describe, but start with a corner and attach the 2 adjacent blocks consecutively, without breaking yarn. Just continue to crochet around the corner and pick up the new block. You will now have 3 blocks connected, with 2 of them aligned diagonally. Continue and work the next diagonal on your blanket, zigging and zagging as you go. I found that doing a slip stitch as you round an outside corner will provide the extra give. And when you come to an inside corner, slip stitch into the corner stitch of the block diagonally away to close the gap.
My idea was that this would create fewer ends to weave in because I will already have enough ends to weave in!
Don’t believe me? A picture is worth a thousand words. Or in this case, a thousand ends.


Amy
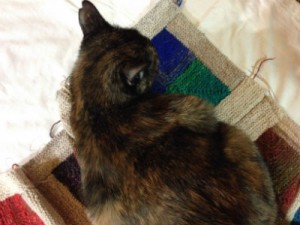
Glad to see your new buddy has figured out quickly how to be helpful…and that your blanket has the Cat Butt Seal of Approval. Really pretty…both of them!
Mel
Your blanket is lovely, and your little helper is a cutie.
Mia
A lovely blanket, the pattern makes your colours look even better :)